Securing your shelter in the zombie-infested world of Project Zomboid is crucial. While finding a safe haven is the first step, fortifying it against the undead hordes is a whole different ball game. This guide details how to create a basic, yet effective, barricade for your windows.
How to Barricade Windows in Project Zomboid
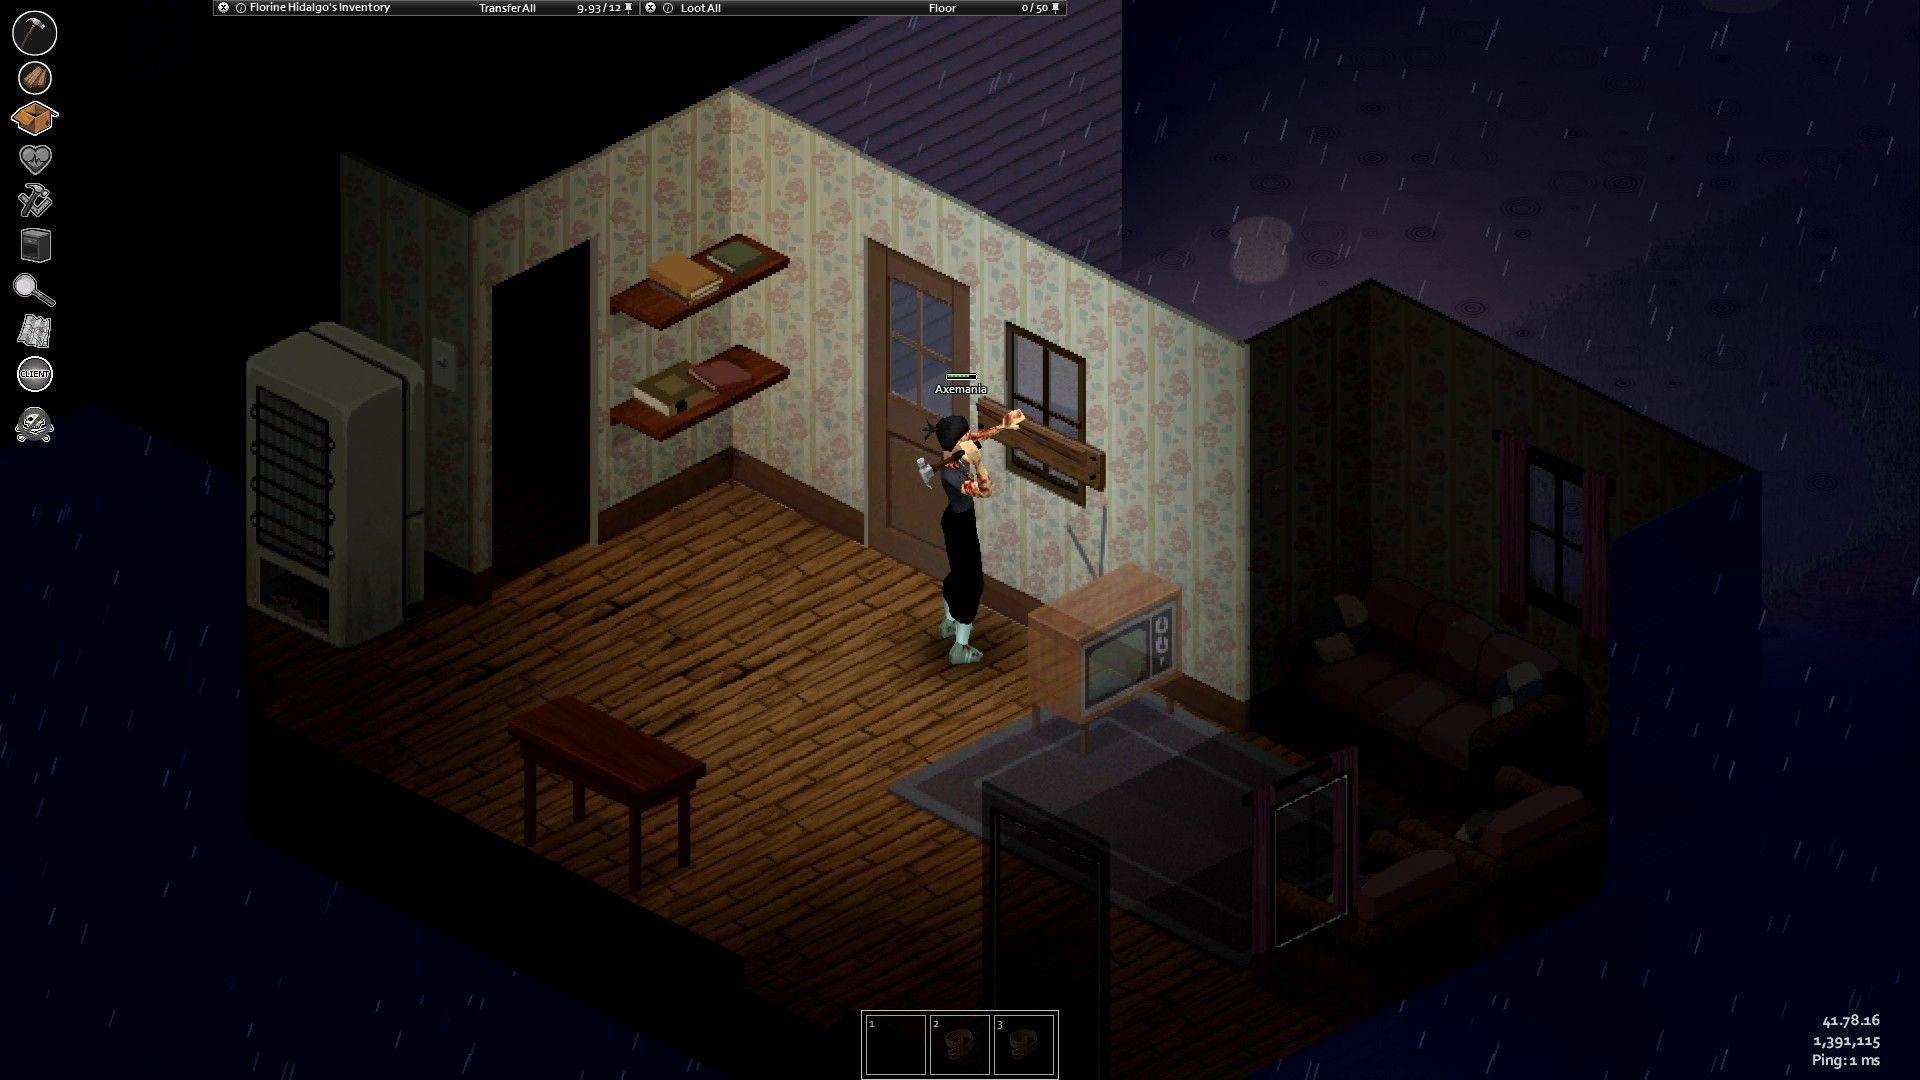
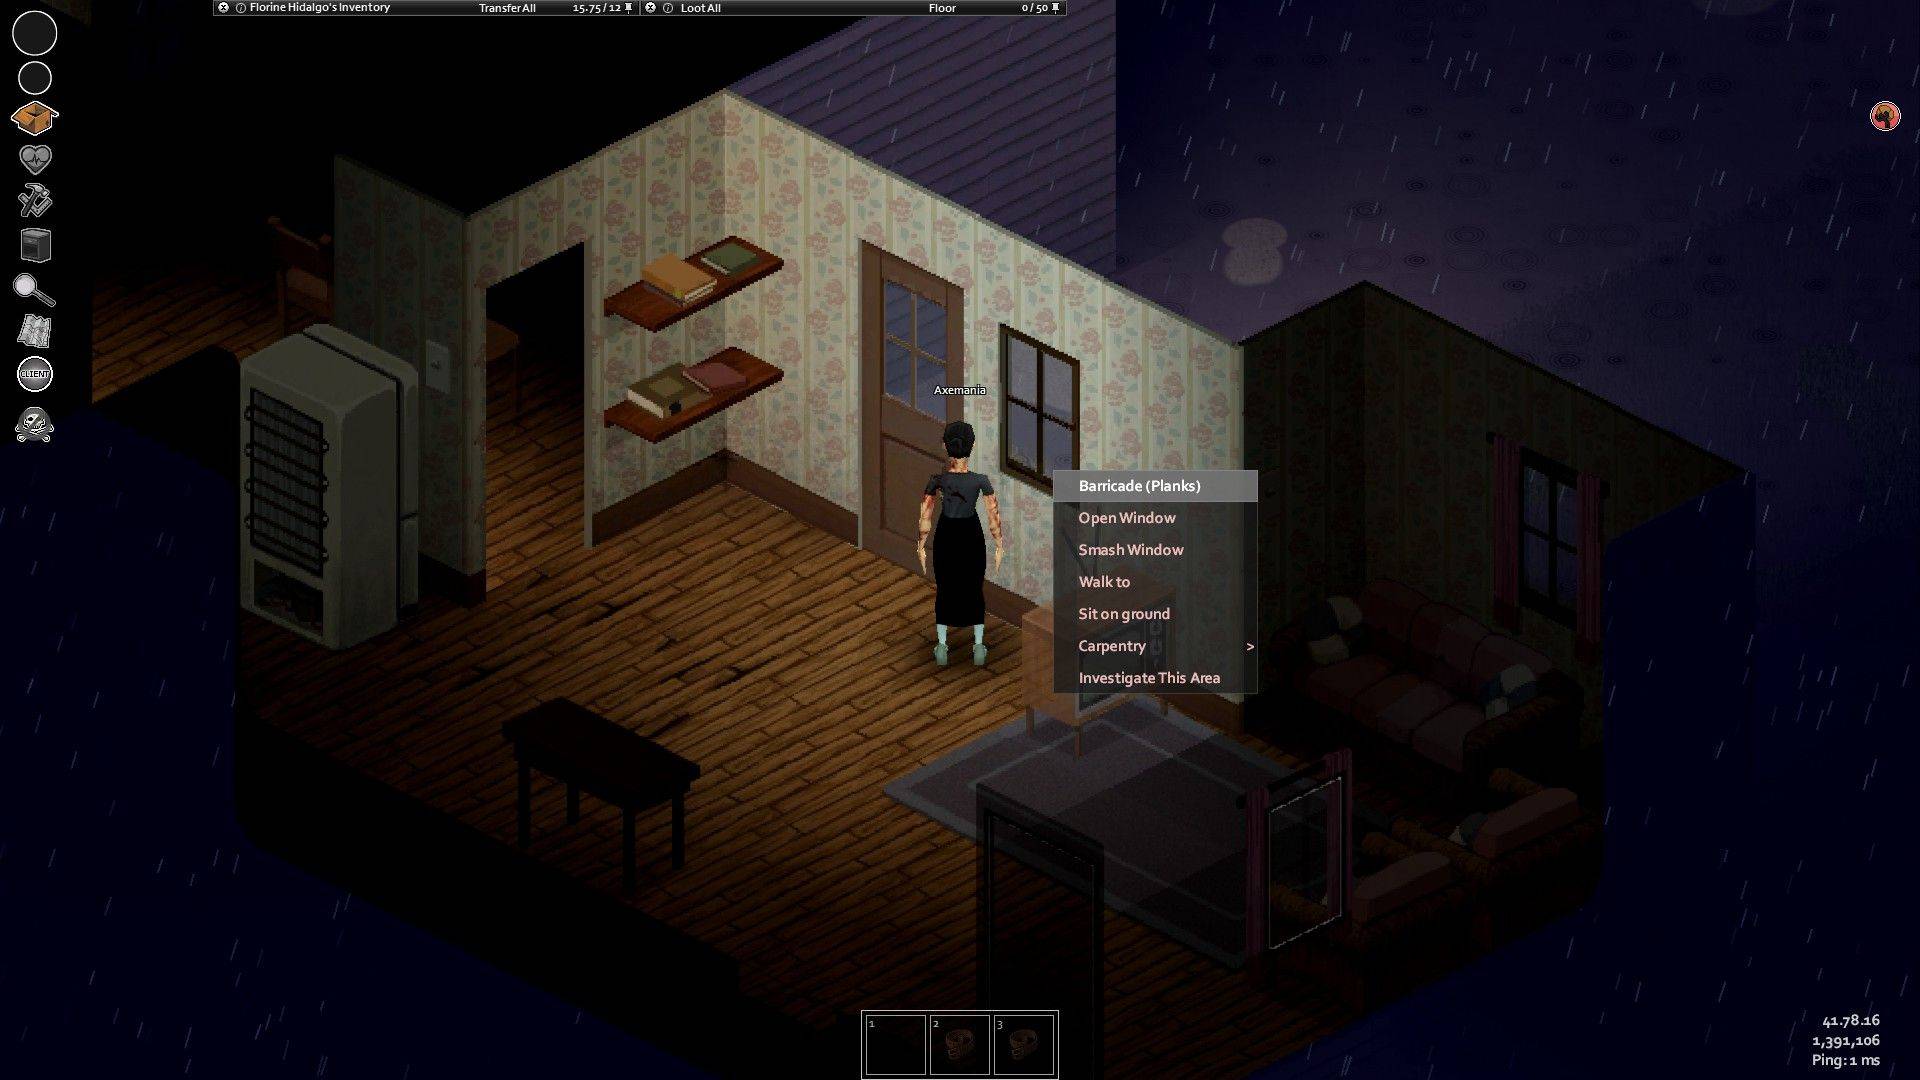 To board up your windows, you'll need a wooden plank, a hammer, and four nails. Once you've gathered these essential supplies, simply right-click on the target window. Your character will automatically begin securing the plank. Each window can support up to four planks for enhanced protection.
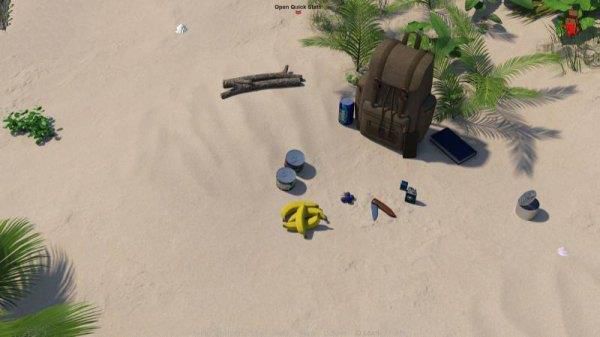
Hammers and nails are typically found in places like toolboxes, garages, sheds, closets, and similar locations. Wooden planks are commonly located on construction sites, or, in a pinch, can be salvaged by dismantling wooden furniture (shelves and chairs). For those playing with admin privileges, the "/additem" command provides a quick way to acquire these items.
 Barricaded windows significantly hinder zombie entry attempts. The more planks you add, the more time it takes for the undead to breach your defenses. To remove planks, right-click on the barricade and select "Remove." Note that you'll need a claw hammer or crowbar to do so.
Larger furniture items (bookshelves, refrigerators, etc.) are unfortunately ineffective as barricades, as both zombies and players can phase through them. However, knowing how to move furniture remains a useful skill for interior arrangement.
While more robust barricades can be crafted using metal bars or sheets (requiring sufficient Metalworking skill), the simple boarded window provides a readily accessible and effective initial defense.